Introduction
This class allows you to control Arduino GPIO from Windows apps, with features including:
- Reading and writing to digital pins
- Reading analog inputs
- Controlling servo motors
- Sending data to devices and receiving data form devices through the I2C Bus Terminal
Step 1: Set Up Your PC
1.Download Visual Studio 2017 Here 
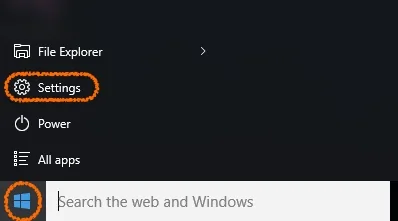
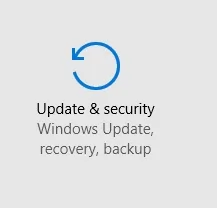
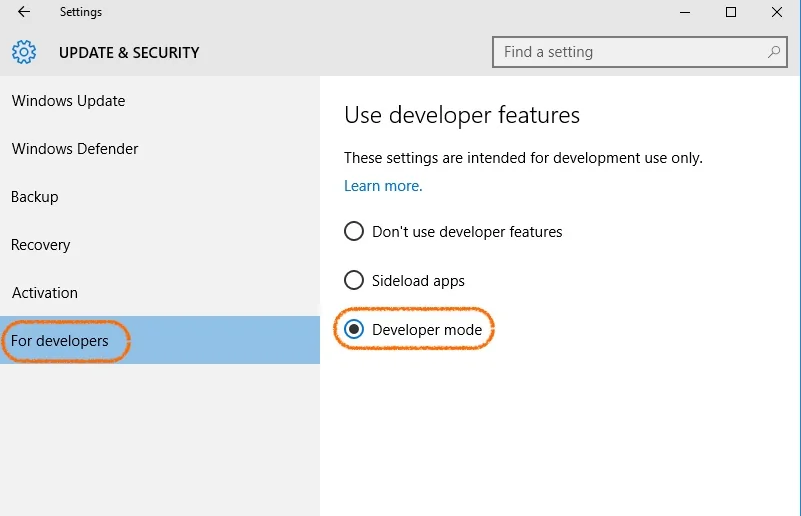
2.Enable developer mode on your operating system
3.Download LattePanda.Firmata
LattePanda.Firmata is an open-source Firmata library provided by LattePanda, which is suitable for Windows apps developed in Visual Studio. This class allows you to control Arduino GPIO from Windows apps, with features including:
- Reading and writing to digital pins
- Reading analog inputs
- Controlling servo motors
- Sending data to devices and receiving data form devices through the I2C Bus
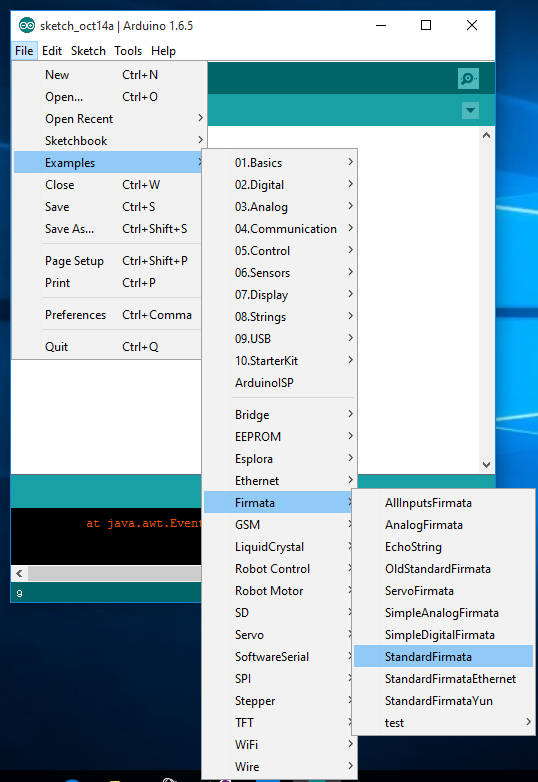
Step 2: Set Up the Arduino
1.Open Arduino. Then, select “StandardFirmata”
2.Select “Arduino Leonardo”
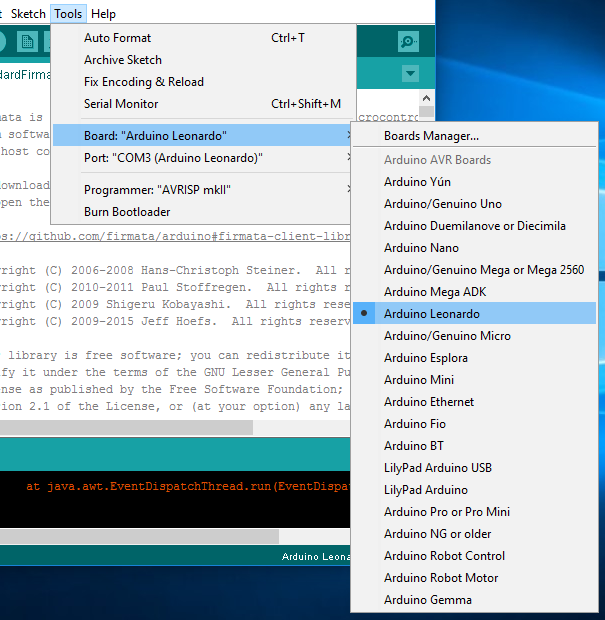
3.Select your COM port

4.Upload the sketch
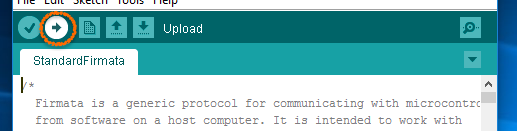
5.Wait for successful upload

Step 3: Blink Your Board
Create a project or use the sample project here.
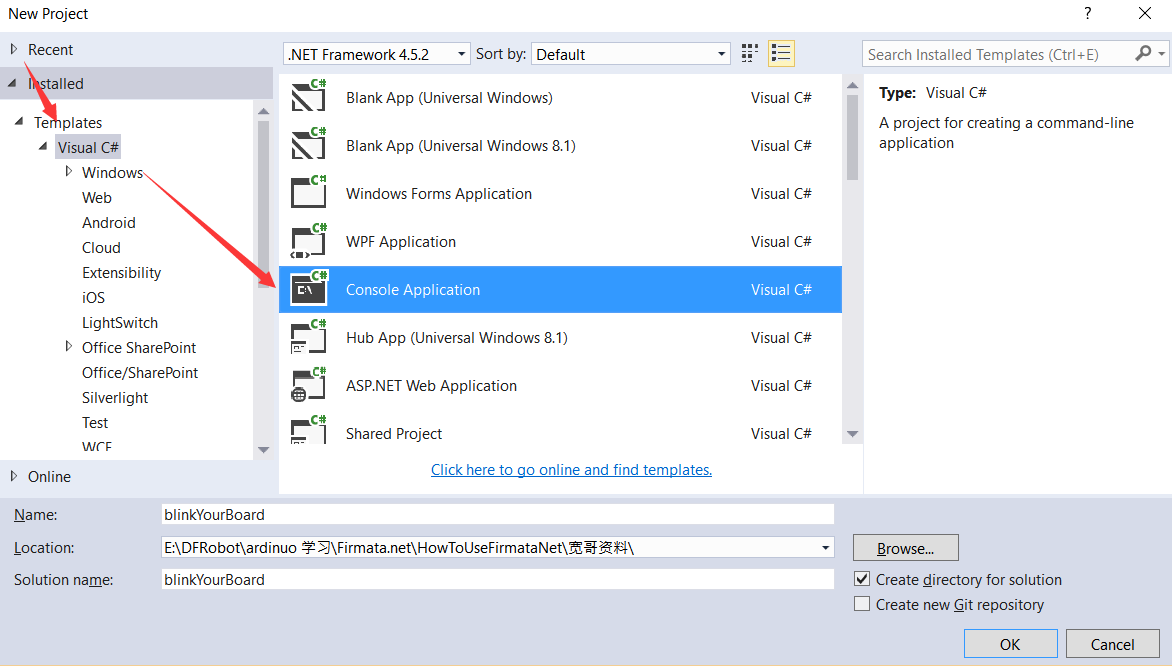
1.Open Visual Studio 2017 and create a new application: 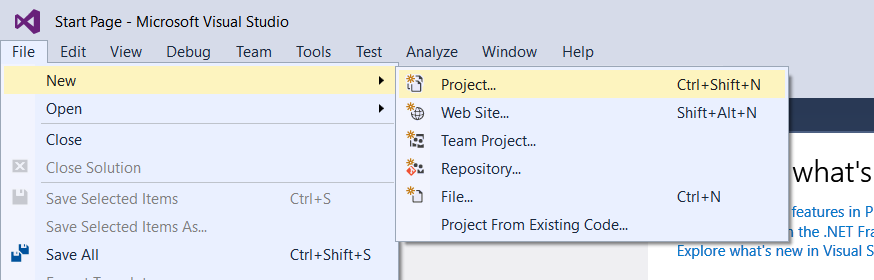
 2.Download the LattePanda.Firmata class library
3.Add the downloaded class library to your project. Next, open your Solution Explorer and right-click in the blank area, then add existing item. 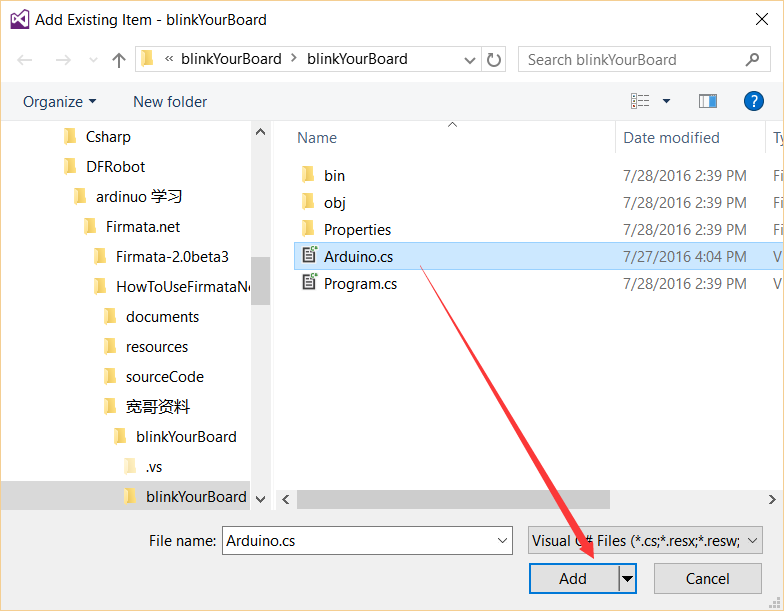 4.Add the following code to Program.cs.
-
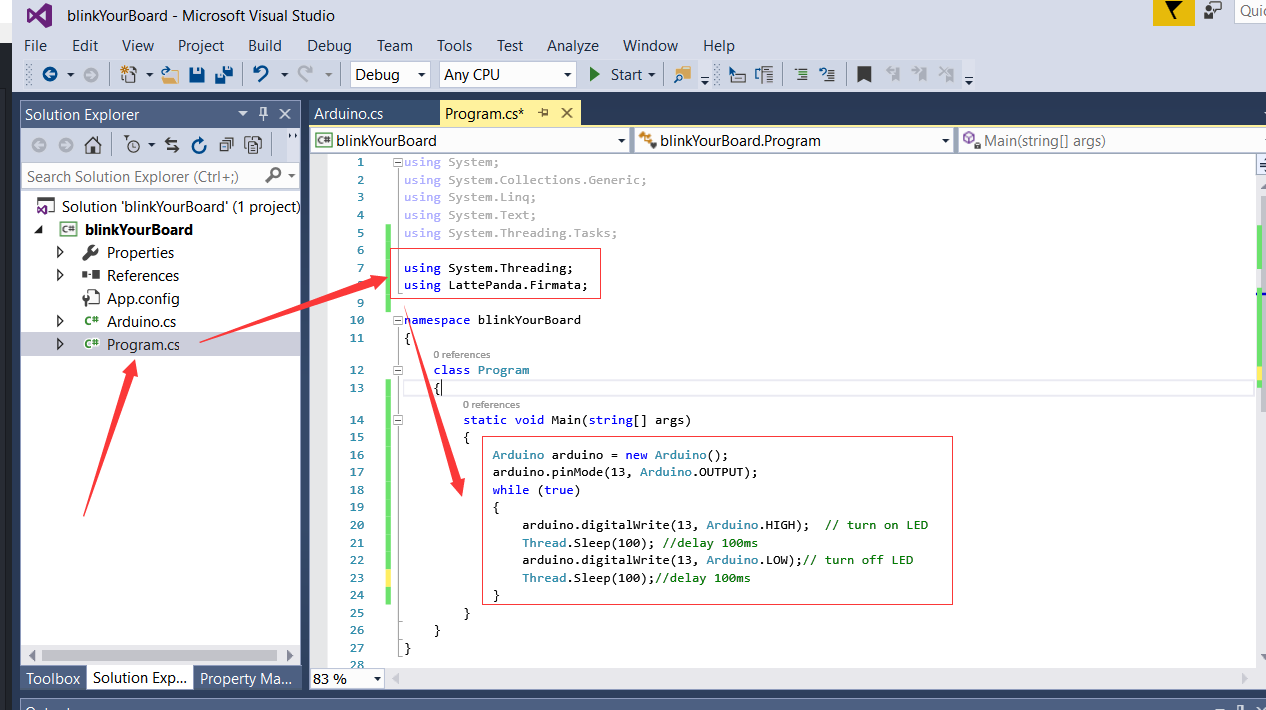
Add the following two lines of code before the line of code "namespace blinkYourBoard."
using System.Threading;using LattePanda.Firmata;The first line of code controls delay commands and the second line is a LattePanda.Firmata class library namespace
-
Now add the following code into the body of the Main Function
Arduino arduino = new Arduino();
arduino.pinMode(13, Arduino.OUTPUT);//Set the digital pin 13 as output
while (true)
{
// ==== set the led on or off
arduino.digitalWrite(13, Arduino.HIGH);//set the LED on
Thread.Sleep(1000);//delay a seconds
arduino.digitalWrite(13, Arduino.LOW);//set the LED off
Thread.Sleep(1000);//delay a seconds
}
The complete code is as follows:
5.Finally check your project and debug if needed Connect your Arduino and click Start 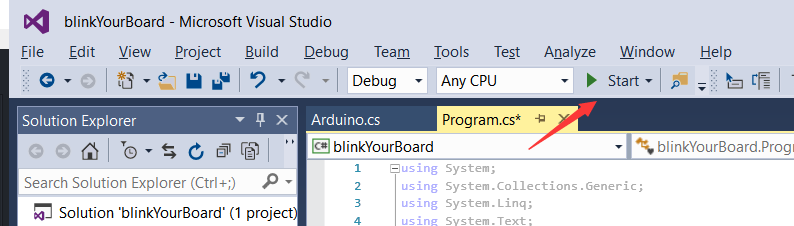 Soon, you will find the LED of your Arduino blinking