BIOS Setup
Entering BIOS Setting
-
Power on or reboot LattePanda.
-
Press Del or Esc key continuously to enter into BIOS menu before you see the LattePanda logo on the splash screen.

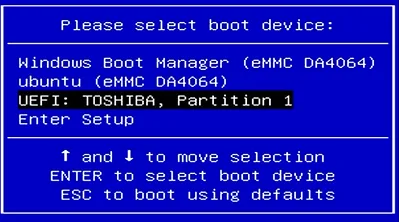
Select Bootable Device
- Power on or reboot LattePanda.
-
Press the F7 key repeatedly before the bootable devices appear on the screen during the boot process.
-
Press Up or Up key to select the bootable device, and press Enter key to boot from it.
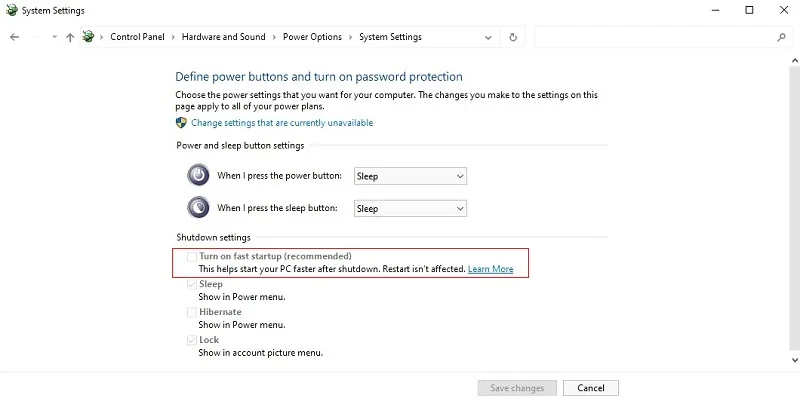
Note
The Turn on Fast Startup option is initially disabled in our system image file, ensuring that the LattePanda device shuts down completely when turned off. Alternatively, if this option is enabled, the device will enter a hibernate state upon shutdown. This behavior is a result of the power management functionality within the Windows operating system. Kindly be mindful to verify this setting as it may have an impact on the system status.